-

WASHING
The less you wash your extensions, the longer they'll last! Unlike natural hair, extensions don’t produce oils, so frequent washing isn’t necessary. Wash them only when they're dirty or have product buildup.
- Use sulfate-free products: Choose a sulfate-free shampoo and conditioner to prevent drying out the extensions. Since extensions can be prone to dryness, consider using a hair mask or deep conditioning treatment instead of regular conditioner for extra nourishment.
-

STORING
Treat your extensions well, and they’ll stay beautiful for years!
- Our favorite storage method: Keep your extensions in a WedLocks Extension Bag and Hanger—perfect for both storage and travel. (Pro tip: a pants hanger works great, too!)
- Store in a visible spot: Hang them in your closet where you can easily see them, so you’re always reminded to use them and keep them in tip-top shape.
-

CUTTING
For the most natural look, blending is key!
- Get a professional trim: Extensions usually look best when they’re blended by a professional stylist. If you have a blunt cut, ask your stylist to blend and cut the extensions to match your natural hair seamlessly.
-

STYLING
With a little care, your extensions can look flawless and last longer!
- Use heat wisely: Always apply a heat protectant and keep the temperature as low as possible when using styling tools. The good news? Extensions tend to hold curls longer than natural hair!
- Less is more with products: Avoid sticky or tacky products like hairspray. This reduces the need for frequent washing and keeps your extensions looking their best.
-

COLORING
Achieving the perfect color match is crucial for a seamless blend!
- Tone or darken: While our extensions come in a variety of shades to match your hair, you can always tone or color them for an even closer match. You can darken extensions, but never attempt to lighten them. Do not use bleach or lighteners—it will damage the hair.
How To Install Your Clip-In Hair Extensions
SHOP CLIP-INS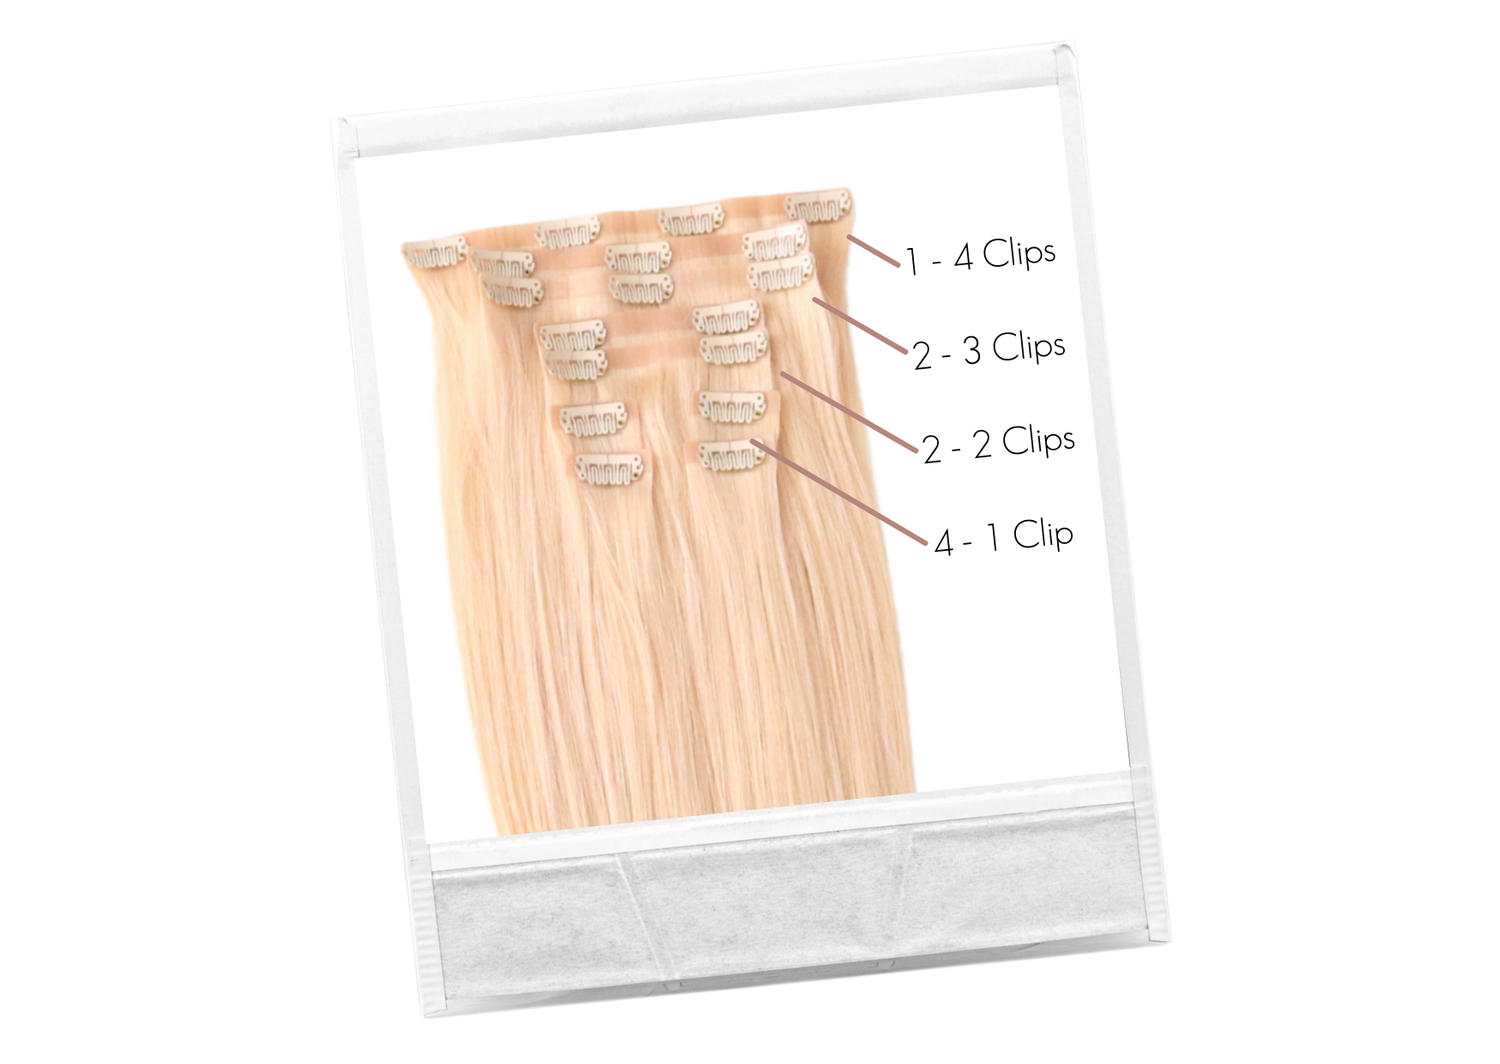
Step 1: Lay Out Your Extensions
Before you begin, lay out your clip-in extensions. Your set includes:
- 1 weft with 4 clips
- 2 wefts with 3 clips
- 2 wefts with 2 clips
- 4 wefts with 1 clip
Organizing them beforehand makes the installation process quick and easy.
Step 2: Start from the Bottom
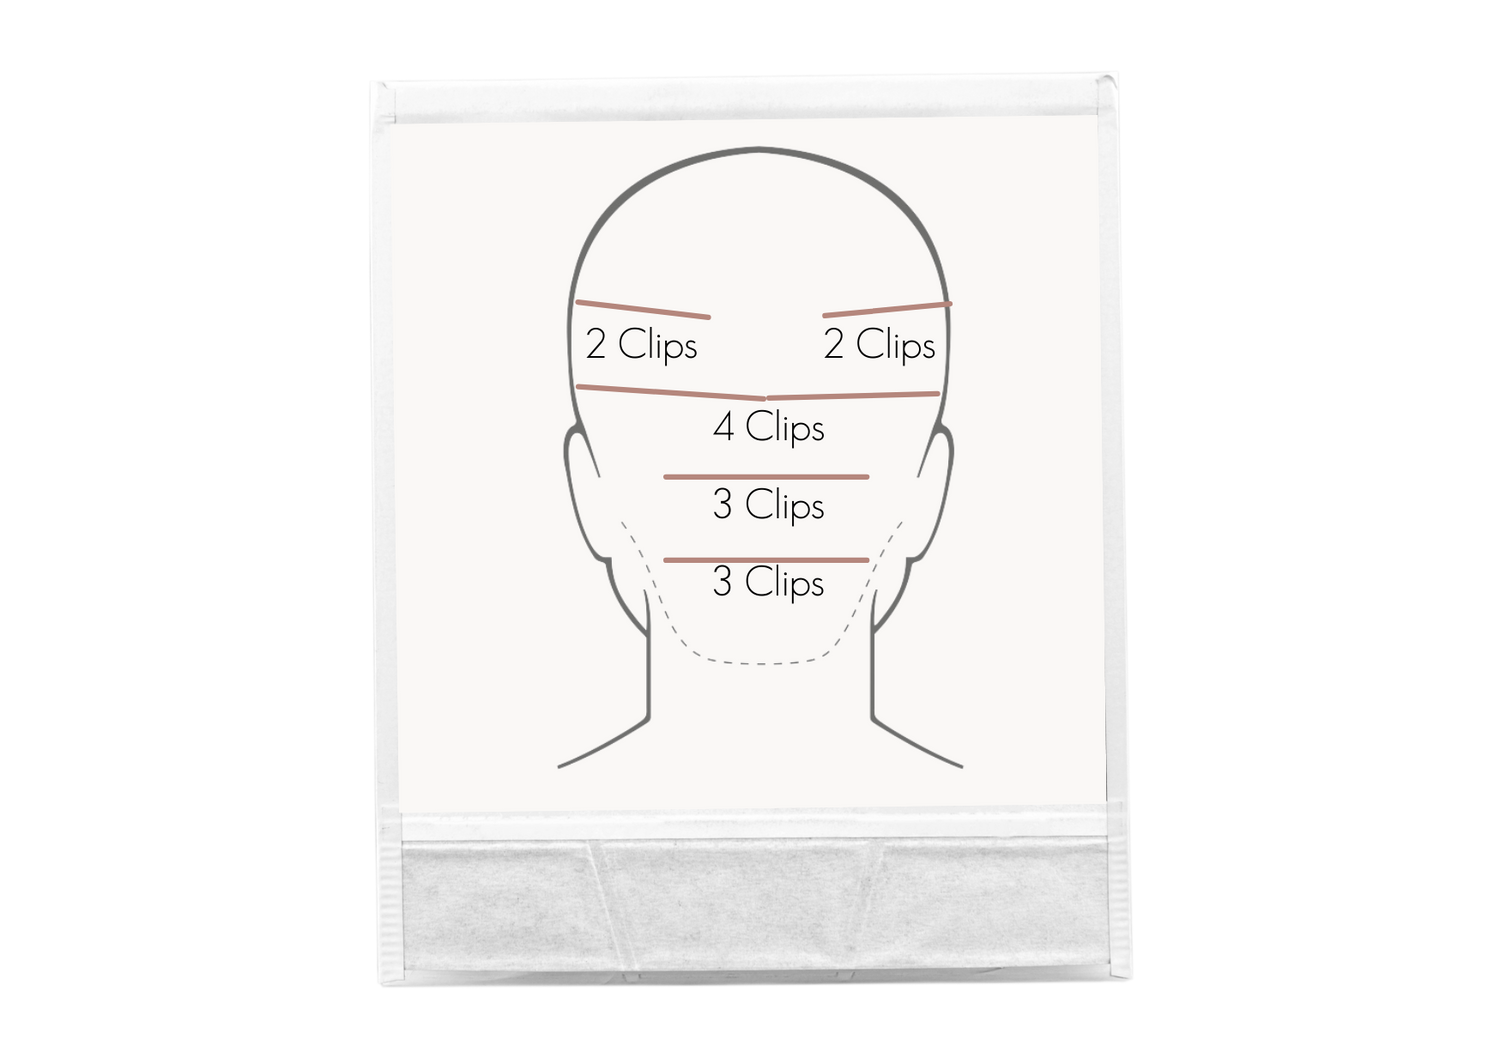
Begin at the bottom of your hairline and work your way up.
Pro Tip: For extra hold, tease the hair at the roots where the clips will go. This gives the clips something to grip onto and helps them stay secure all day.
Use the single-clip wefts to fill in any areas that need a bit more volume or blending.

Step 3: Style, Slay, Enjoy!
Now that your extensions are in, style them as desired. Curl, straighten, or just let them flow! You're ready to rock your new look.
Pro Tip: We love to style the extensions first to avoid pulling on the wire or your natural hair.
Clip-In Install
How to Install Your Halo Hair Extensions
SHOP HALOS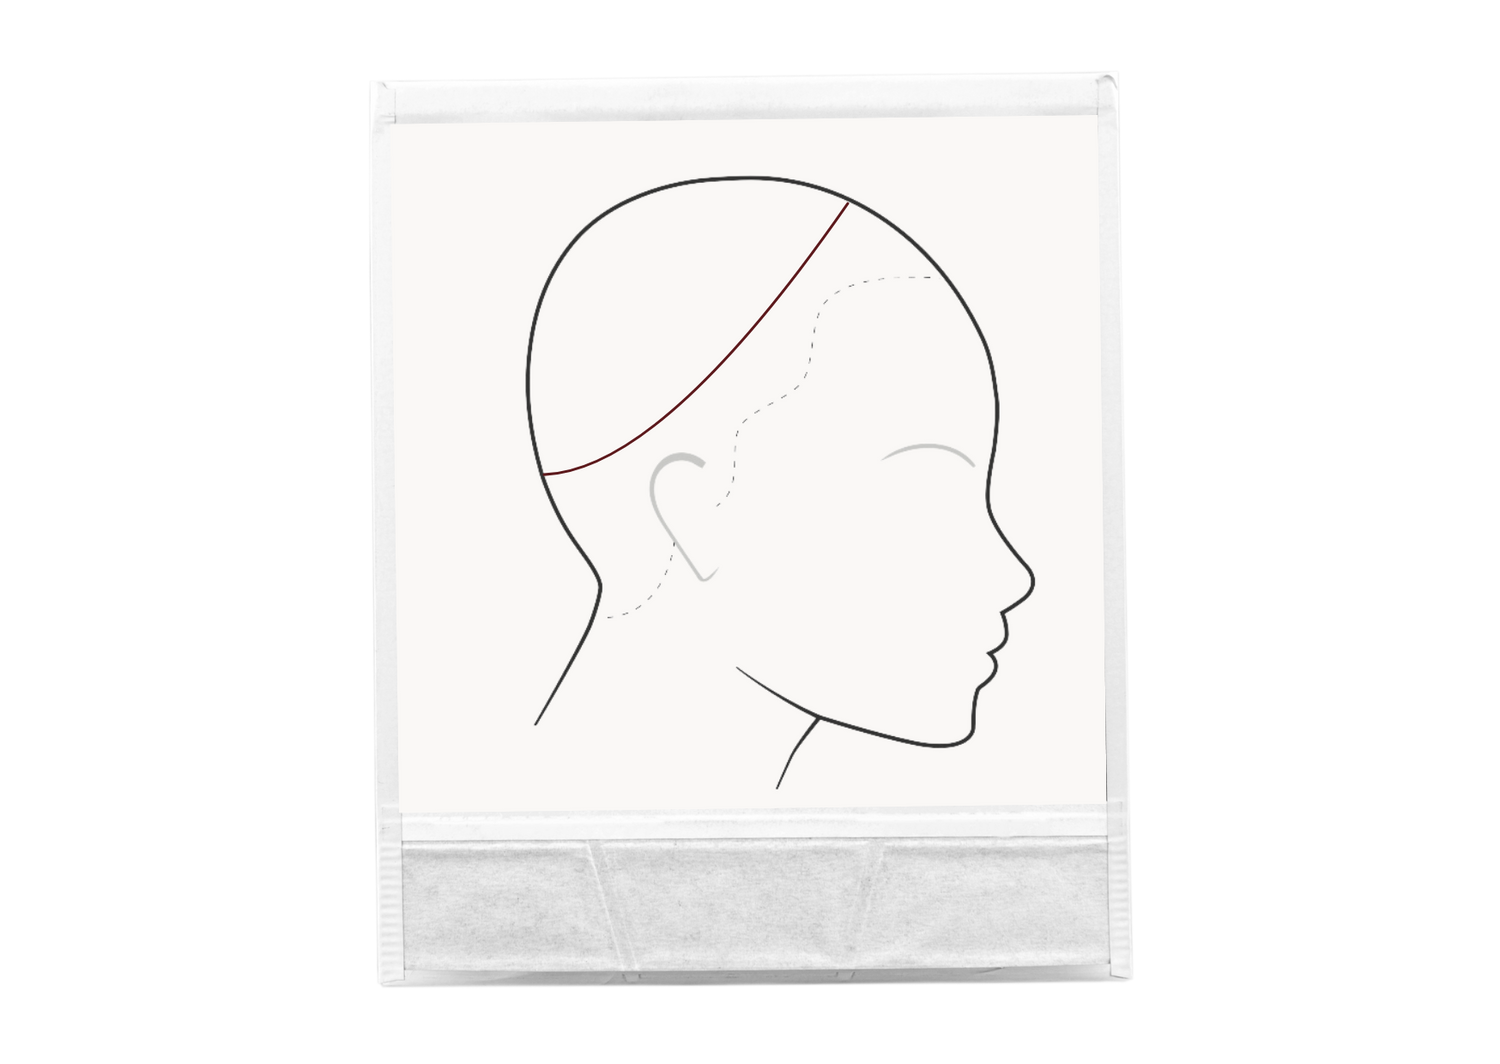
Step 1: Section
- Start by measuring and adjusting the halo to fit comfortably on your head.
- Place the halo on your head and use your finger to trace along the top of the wire and weft.
- Remove the halo, section your hair where you traced, and clip it out of the way.
Step 2: Install
- Place your halo back onto your head and let down the sectioned-off hair.
- Adjust the halo and gently pull through any trapped hairs to ensure a natural blend.
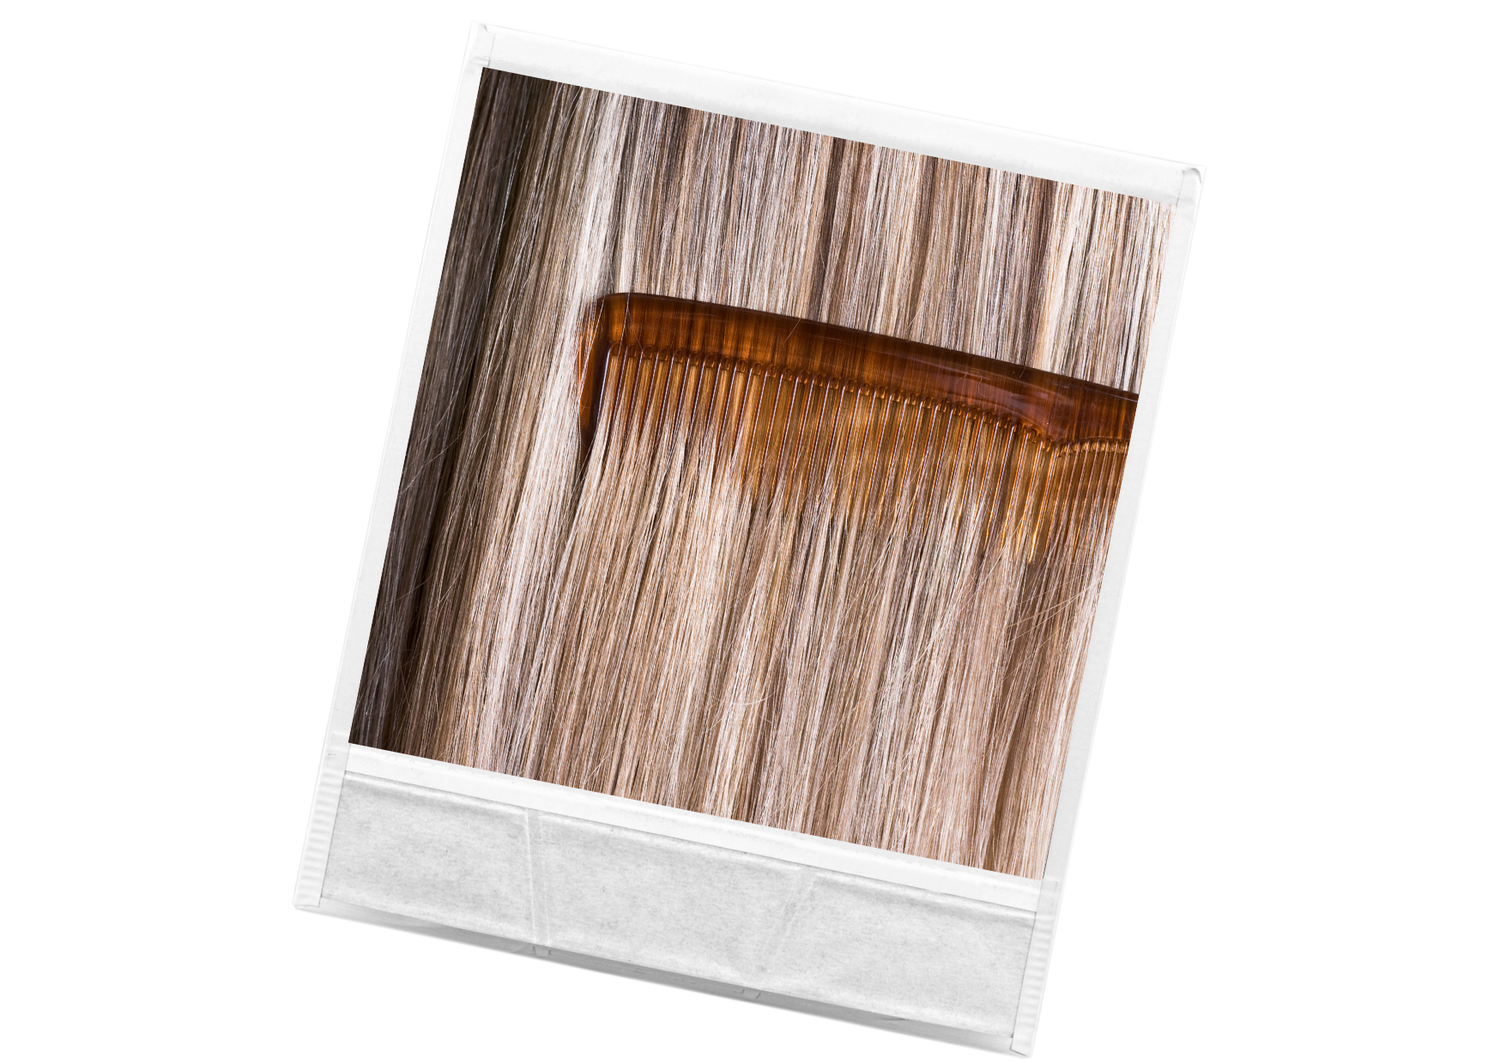
Pro Tip: Use a comb to pull through any stray hairs and completely hide the wire for a seamless look.
- Clip in the detachable clips for extra security.
Pro Tip: If the halo wire feels too snug, adjust where the wire hook is attached or give the wire a gentle stretch.
Step 3: Style, Slay, Enjoy!
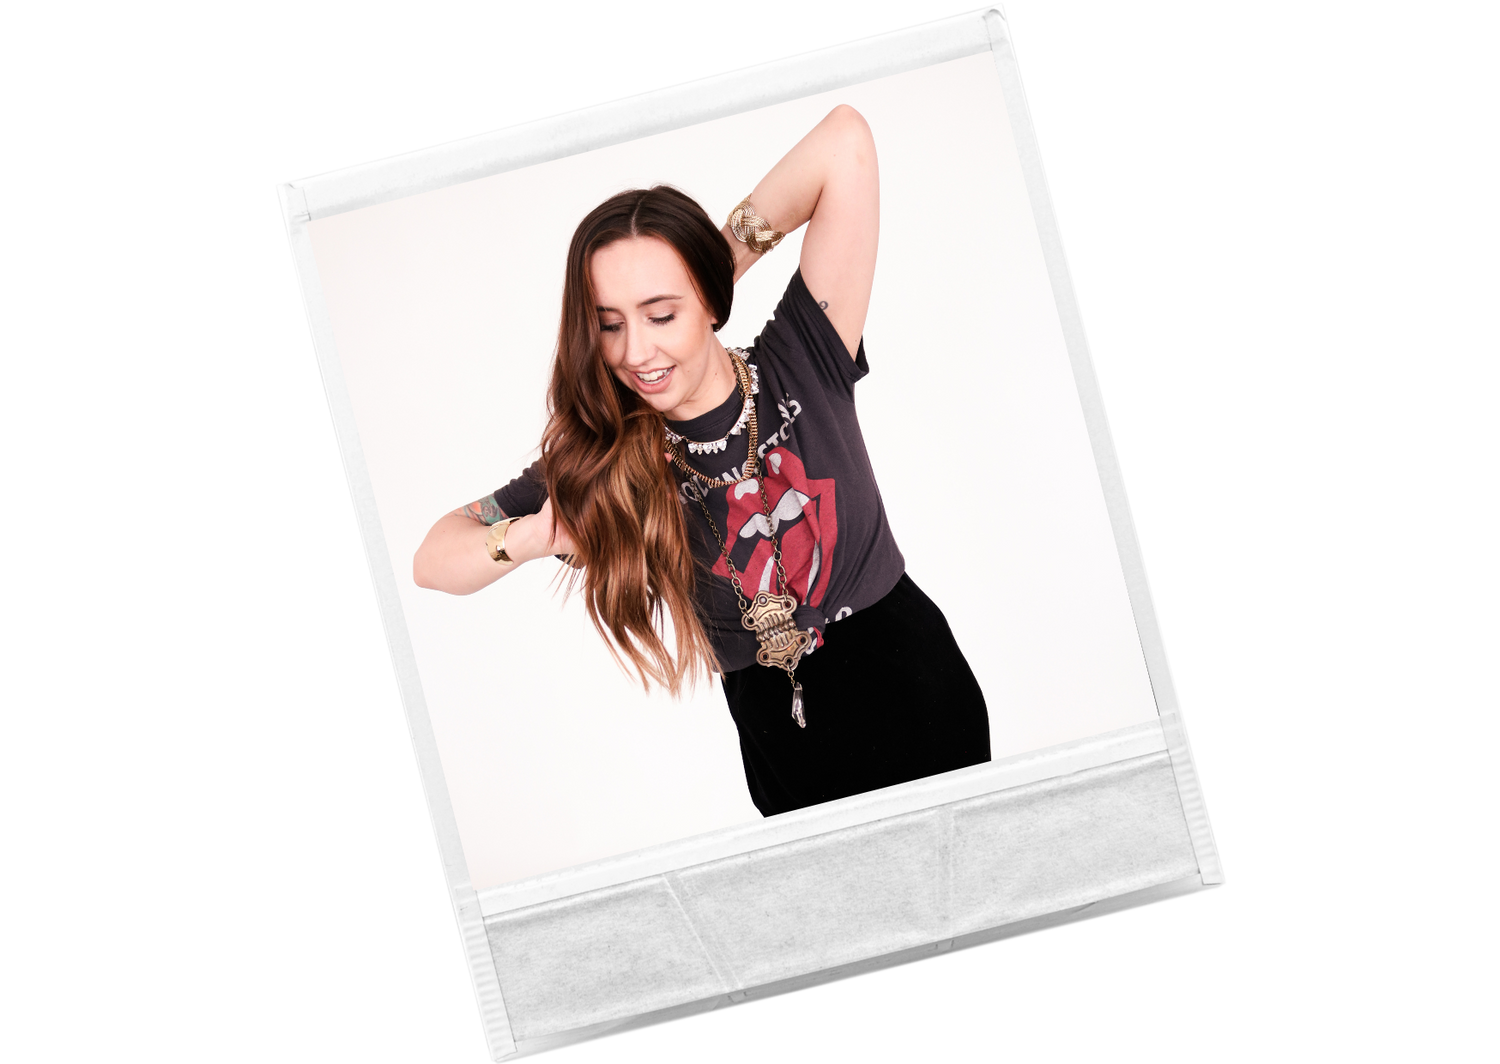
Style your hair as usual, blending your natural hair with the halo extensions.
Pro Tip: We love to style the extensions first to avoid pulling on the wire or your natural hair.

